
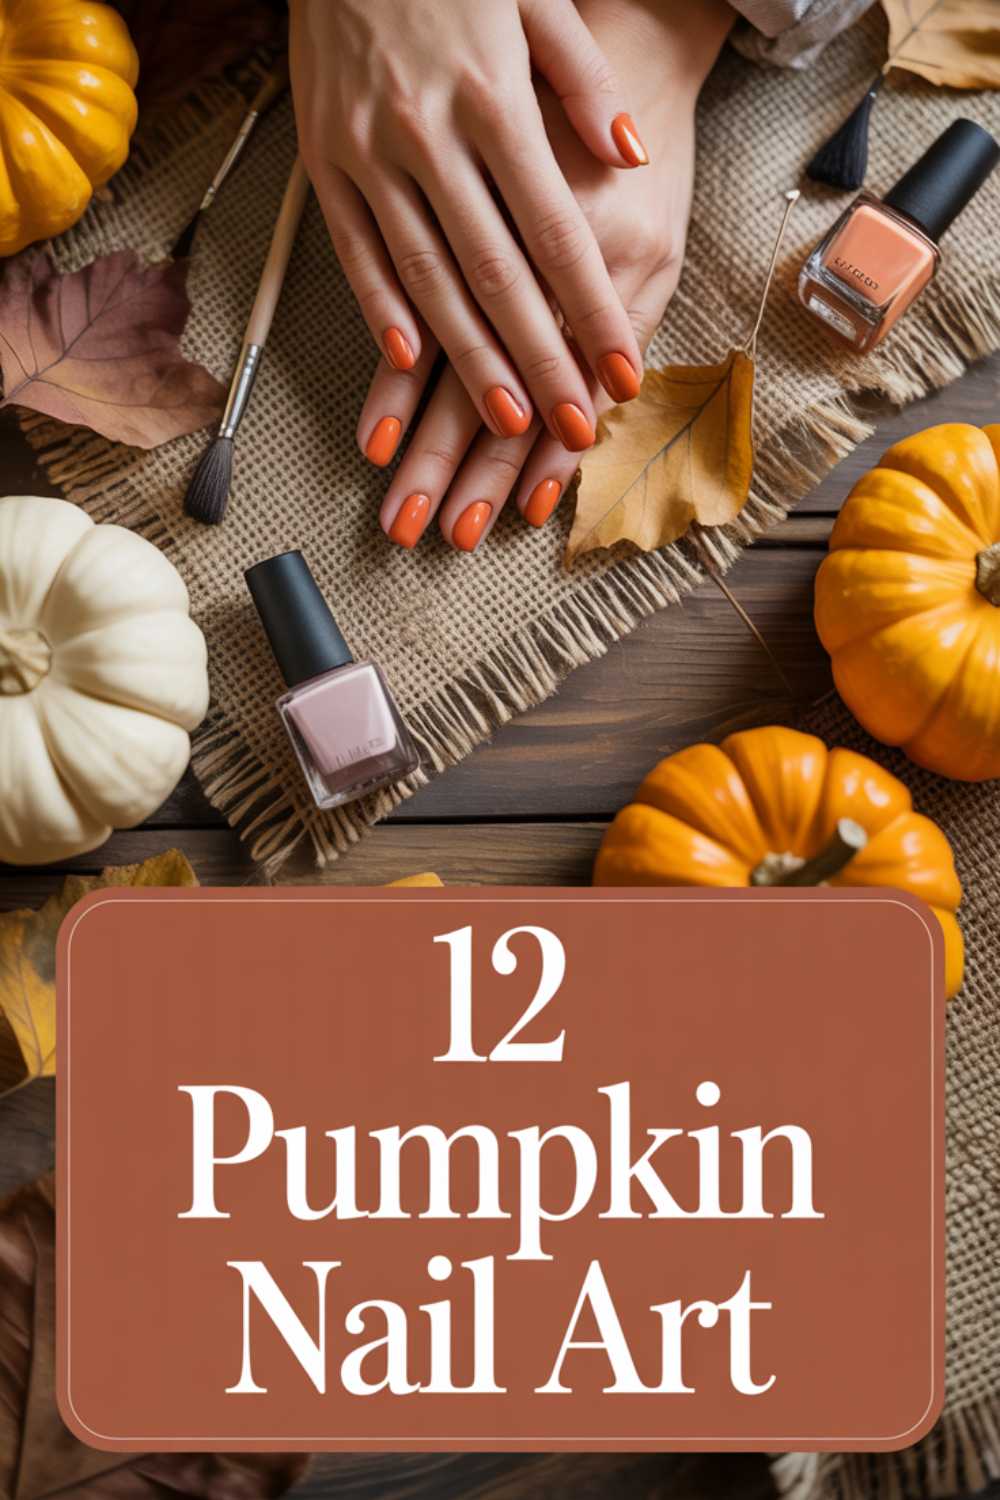
Fall is in the air, and there’s no better way to celebrate than with a fresh set of pumpkin nail art. From classic jack-o’-lantern smiles to minimalist outlines, these designs are both fun and doable—even if you’re a total beginner.
Grab your favorite orange polish and get ready to turn your nails into tiny pumpkin canvases that scream autumn vibes. Let’s dive into 12 creative Pumpkin Nail Art ideas that will have you reaching for your polish all season long!
1. Classic Orange Pumpkin Nail Art
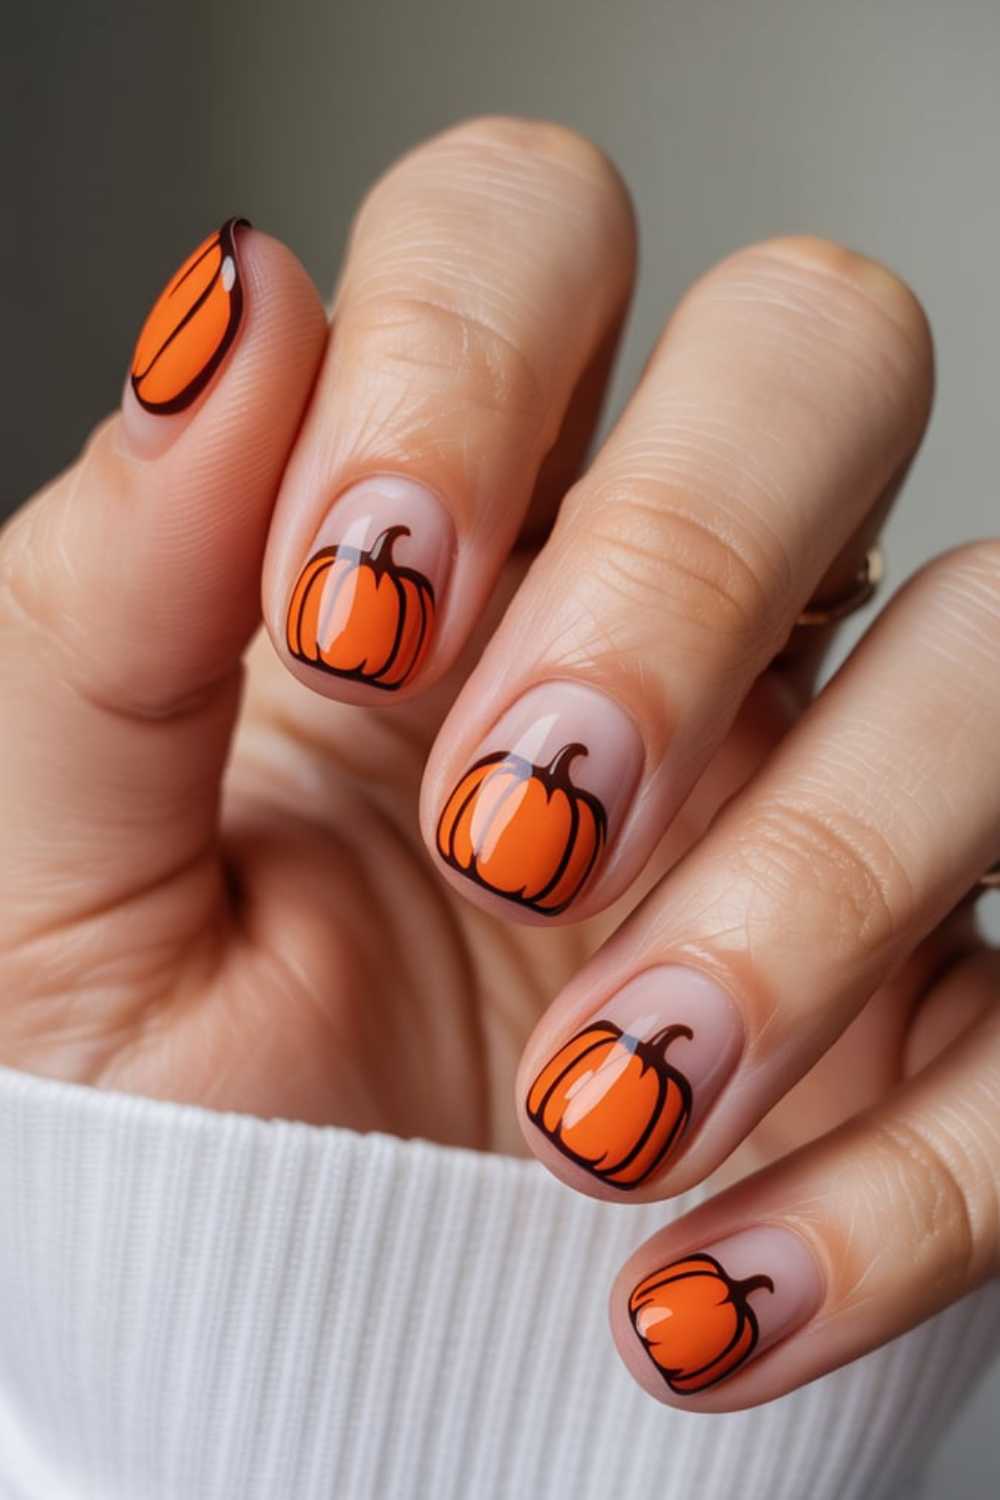
Capture that familiar autumn feel with bold orange nails and simple black pumpkin silhouettes. This timeless look puts “pumpkin nail art fall” front and center, perfect for a cozy weekend or a spooky‐light Halloween party.

Step-by-step
- Apply two coats of bright orange polish and let dry.
- Use a thin nail art brush dipped in black polish to paint small pumpkin shapes—two curved lines for the sides and a flat base.
- Add a tiny green stem at the top of each silhouette.
- Seal with a glossy top coat for shine.
Picture this:
Your nails glow like miniature pumpkins under string lights. Each nail shows a perfect pumpkin silhouette, the black outlines crisp against the sunset-orange base. When you wiggle your fingers, the glossy finish reflects golden leaves swirling around your autumn adventures.
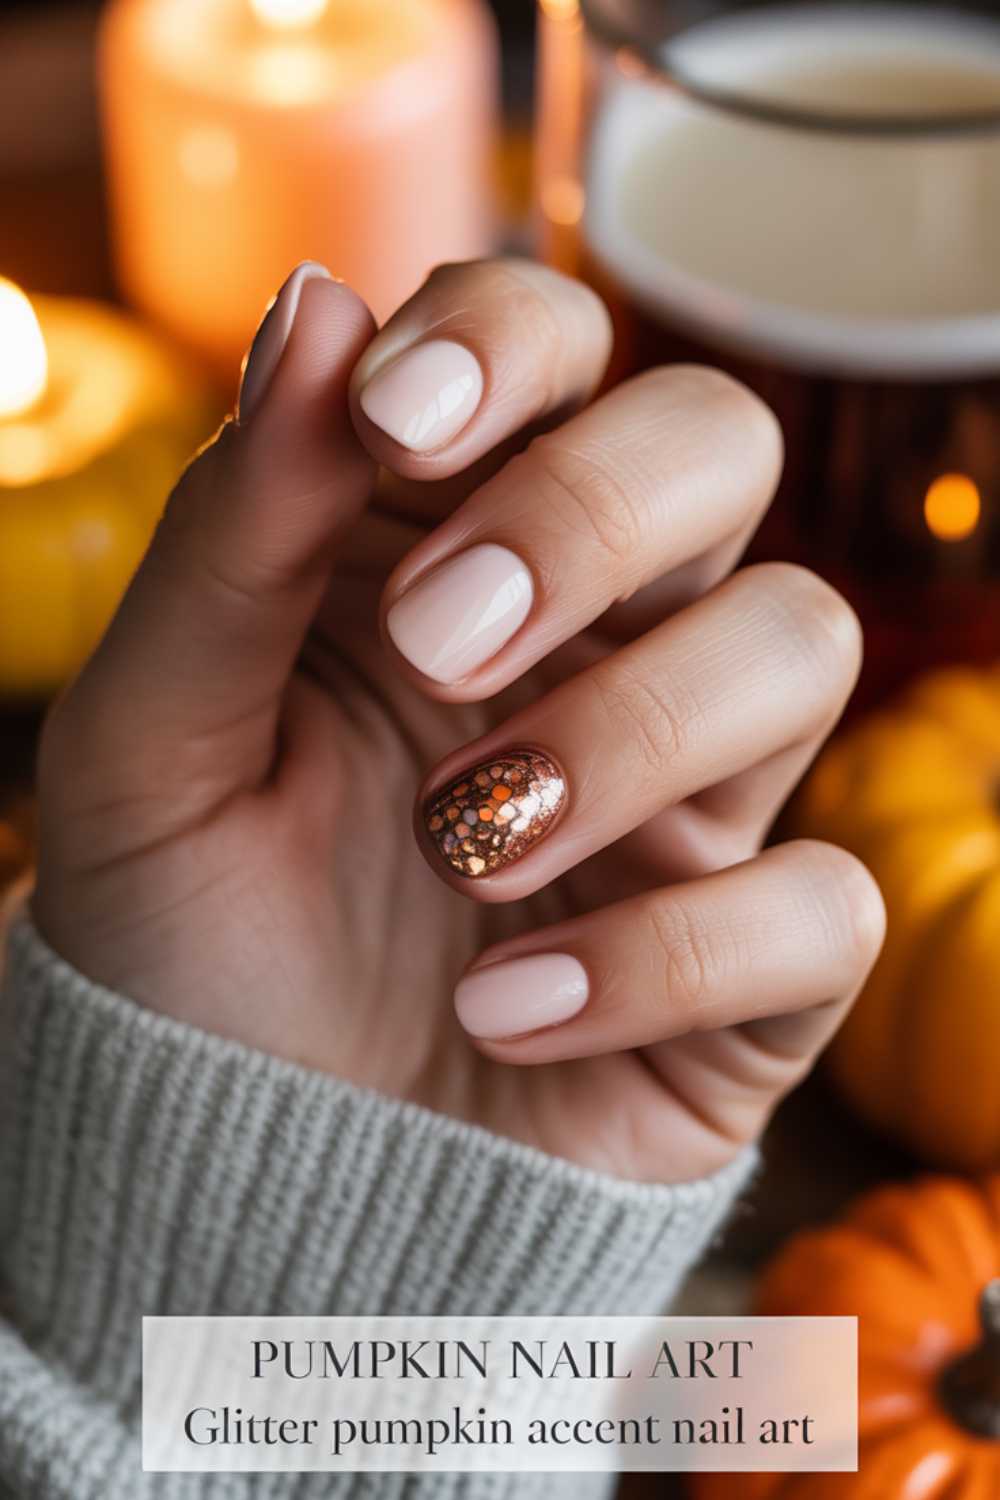
2. Glitter Pumpkin Accent Nail Art
Want a dash of sparkle? Glitter Pumpkin Accent Nail Art mixes rustic pumpkin hues with metallic shimmer for a touch of glam. It’s an easy way to amp up a basic set without spending hours at the nail bar.
Step-by-step
- Paint most nails in a creamy ivory or nude shade.
- On one accent finger, apply two coats of orange glitter polish.
- Once dry, add a tiny pumpkin face using black polish on the glitter nail.
- Finish with a clear top coat to lock in the sparkle.
Picture this:
One nail dazzles like a disco pumpkin in candlelight, while the others stay chic and neutral. You’ll catch glimpses of bronze and orange flecks every time you type or hold a mug of hot cider. It’s effortlessly festive without going overboard.
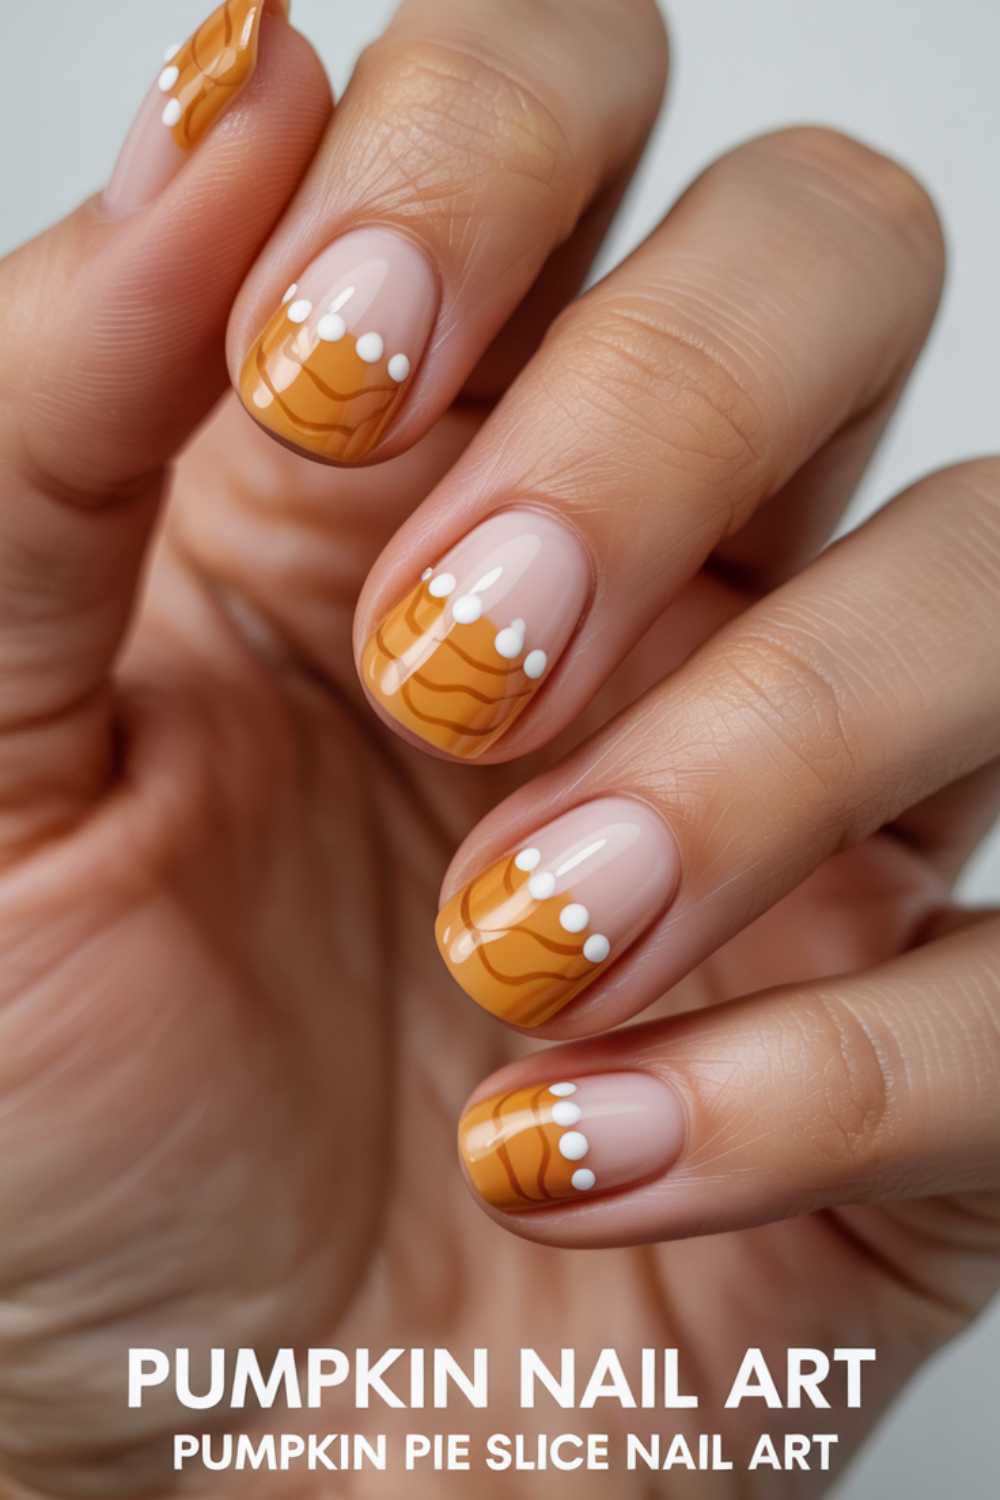
3. Pumpkin Pie Slice Nail Art
Celebrate everyone’s favorite fall treat with Pumpkin Pie Slice Nail Art. This design captures the warm, spiced look of pumpkin pie—minus the crumbs!
Step-by-step
- Base-coat nails in a pale tan or beige polish.
- On each nail, paint a triangular wedge in burnt orange.
- Outline the wedge with a thin brown line to mimic crust.
- Dot the tip of the wedge with white polish for “whipped cream.”
Picture this:
Your fingertips look like delicious pie slices waiting to be savored. The soft beige background contrasts with the deep orange filling, and those tiny whipped-cream dots add an extra layer of cuteness. It’s a nail art pumpkin twist that tastes as good as it looks—no baking required.
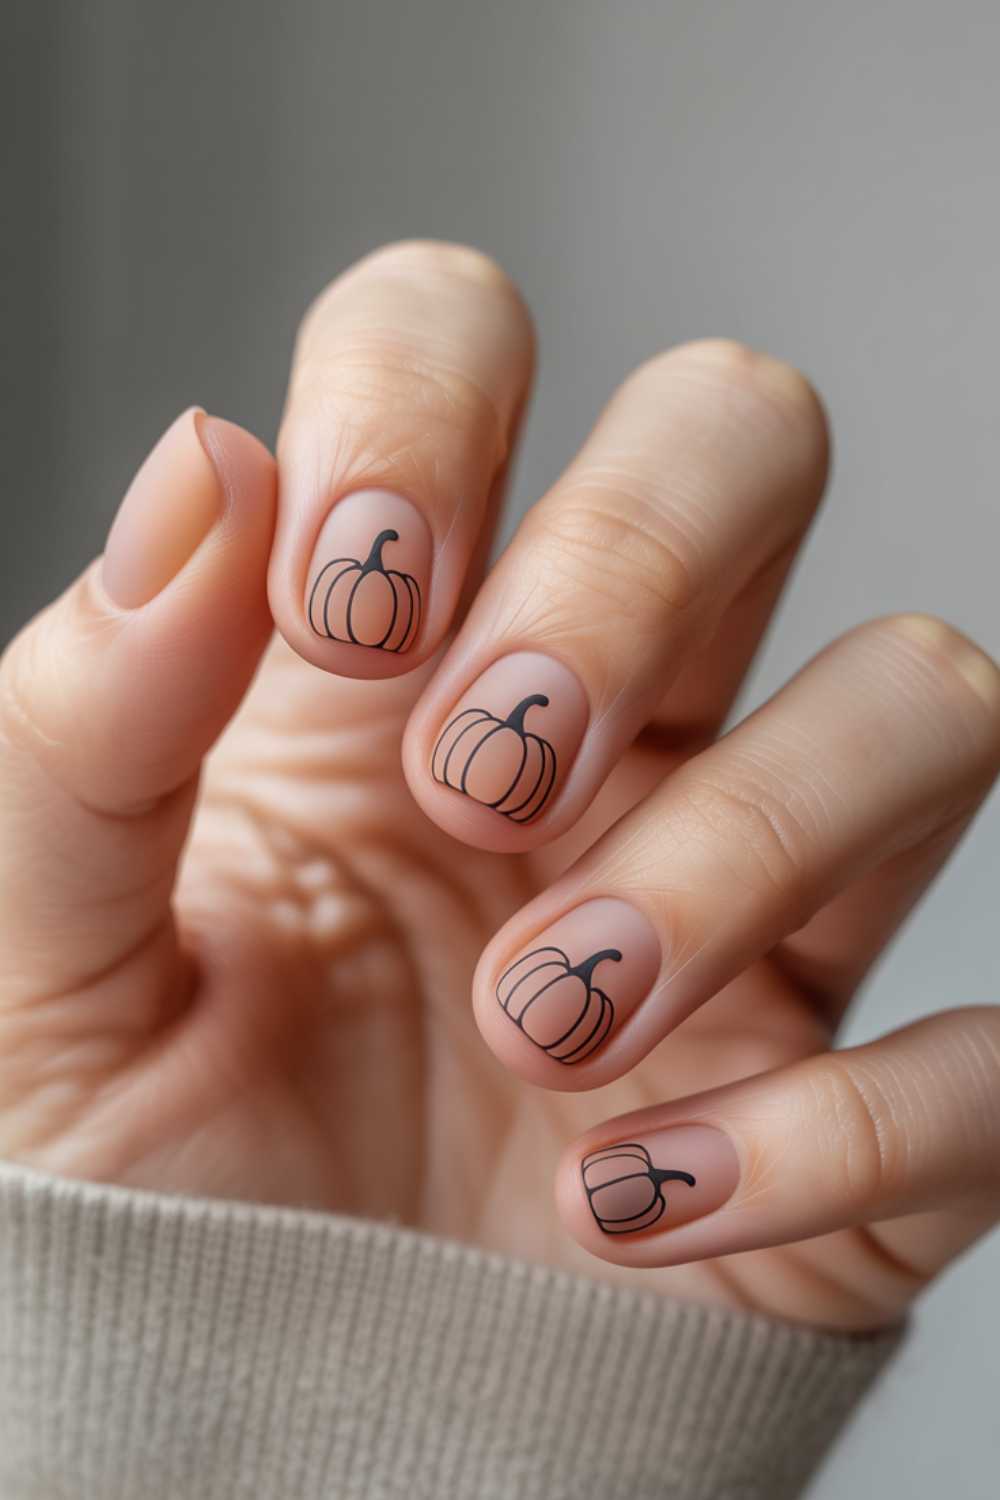
4. Minimalist Pumpkin Outline Nail Art
For fans of simple Pumpkin Nail Art, these delicate outlines are a chic option. You get the pumpkin feel without the heavy color—perfect for office-friendly autumn style.
Step-by-step
- Paint nails with a sheer nude or light peach polish.
- Using a nail art pen or fine brush, draw thin black pumpkin outlines on each nail.
- Keep the shapes loose and airy—no need to fill them in.
- Finish with a matte top coat for modern appeal.
Picture this:
Your nails look like tiny autumn sketches on a neutral canvas. The matte finish softens the look, giving off a fashion-editor vibe. Each fingertip hints at pumpkins without shouting it, making this simple Pumpkin Nail Art surprisingly versatile.
5. Ombre Pumpkin Nail Art
Blend two shades of orange for a sunset-inspired Ombre Pumpkin Nail Art. This gradient technique feels both professional and festive—and it’s easier than you think.

Step-by-step
- Paint nails white as a base.
- On a makeup sponge, swipe bright orange at the top and a darker orange at the bottom.
- Dab the sponge onto your nail to create a gradient.
- Once dry, use a black polish brush to draw tiny pumpkin faces on each nail.
- Seal with a glossy top coat.
Picture this:
Your nails fade from tangerine to rust like a crisp autumn sunset. Cute pumpkin faces peek out of the gradient, giving extra personality to the color blend. It’s a beautiful slip from day to night—right at your fingertips.
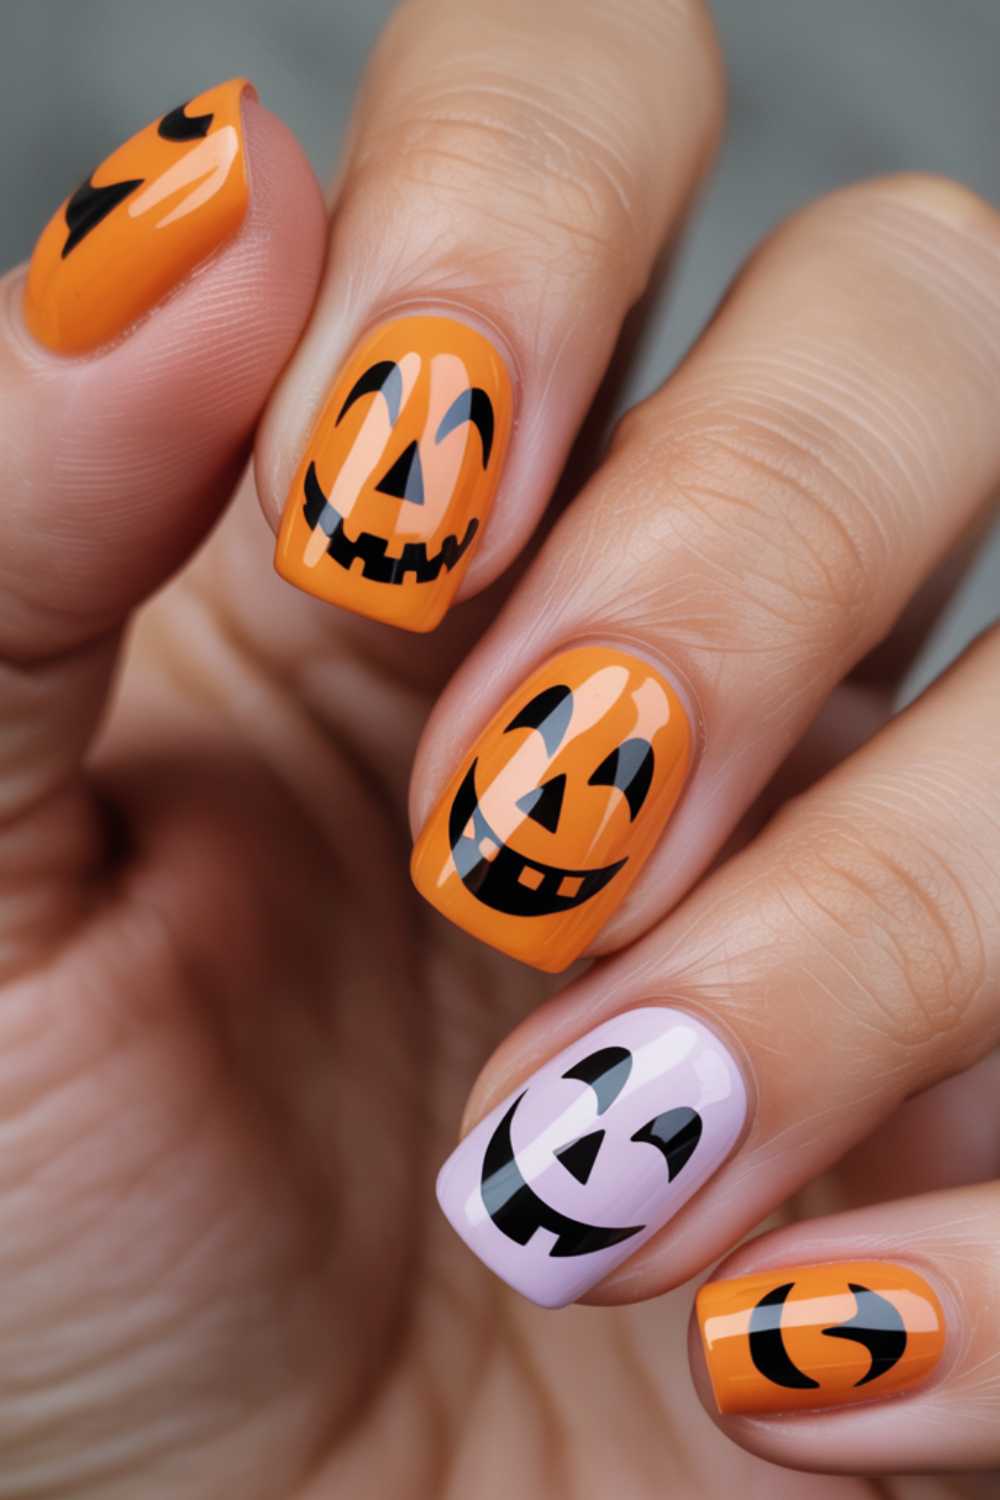
6. Pumpkin Face Nail Art
Embrace your playful side with expressive Pumpkin Face Nail Art. From happy smiles to spooky scowls, these little faces are guaranteed conversation starters.
Step-by-step
- Paint nails bright orange and let dry completely.
- Dip a dotting tool into black polish to create eyes and a nose.
- Use a thin brush to draw each mouth—get creative with shapes!
- Add a green stem at the base of each nail if you like.
- Top with a fast-drying clear coat.
Picture this:
Each nail sports its own personality: one smirks, one winks, and another laughs wholeheartedly. You’ll catch yourself grinning back whenever you glance down. It’s an upbeat twist on pumpkin nail art Halloween style without feeling too spooky.
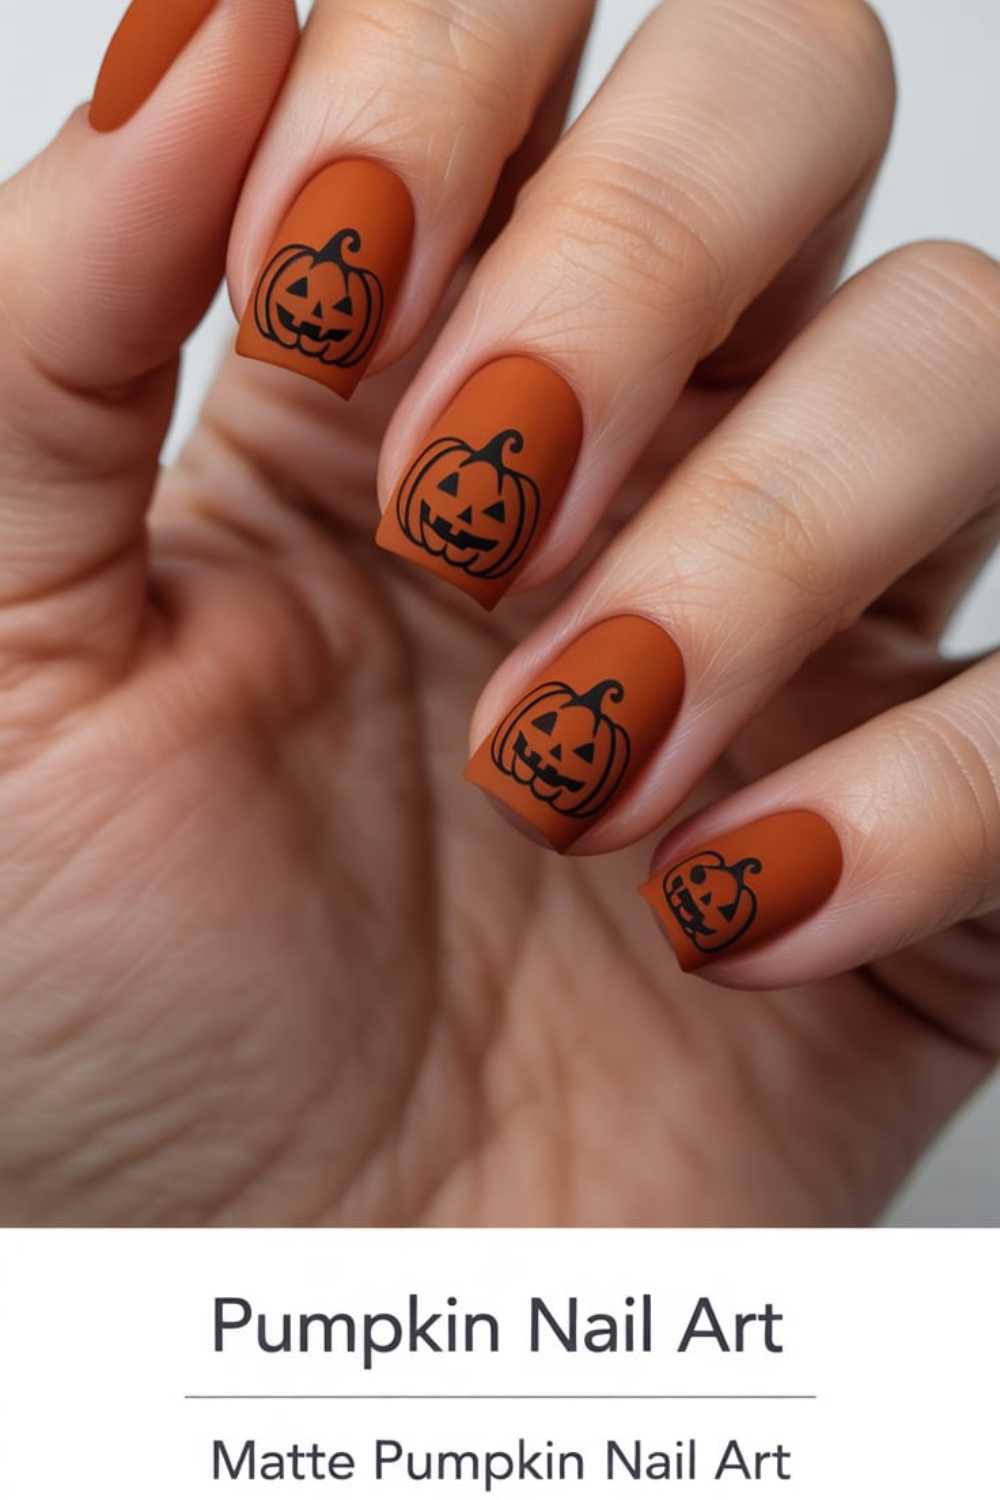
7. Matte Pumpkin Nail Art
Swap gloss for a laid-back matte finish in this trendy Matte Pumpkin Nail Art. It’s surprisingly sophisticated and brings a fresh take to fall color palettes.
Step-by-step
- Apply two coats of deep orange polish.
- Let nails fully dry, then swipe a matte top coat over each one.
- Optionally, add tiny black dots or lines to mimic pumpkin ridges.
- Seal the look with another layer of matte top coat.
Picture this:
Your nails have a velvety texture that feels soft to the touch. The matte finish deepens the orange, making it look almost suede-like. Subtle pumpkin details peek through, lending a cool-girl edge to your autumn manicure.
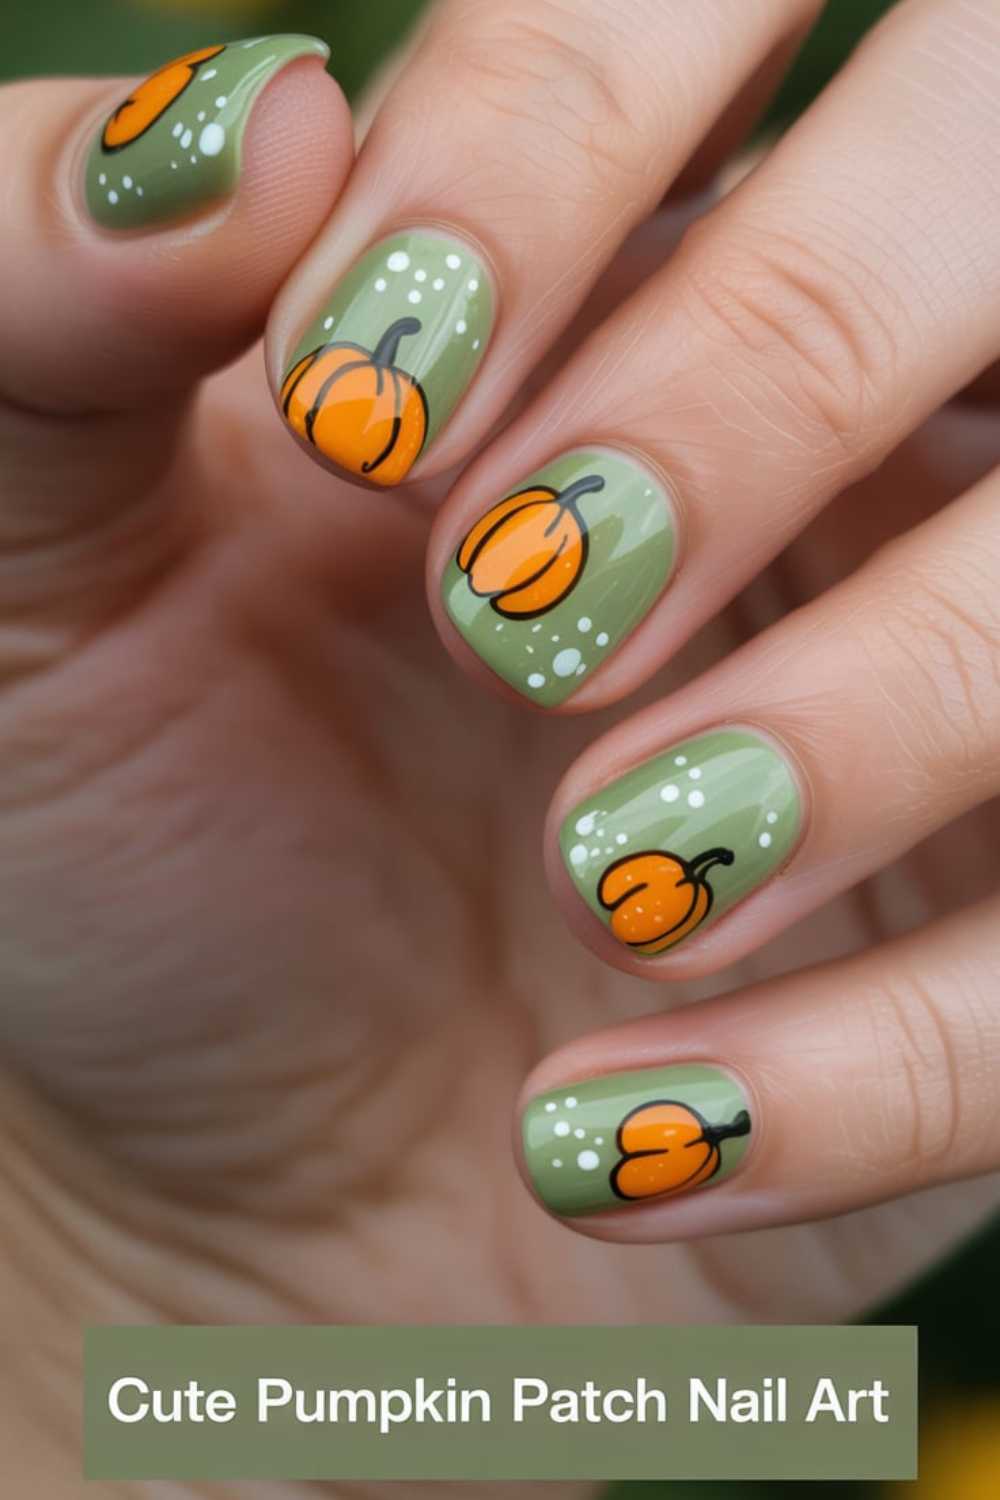
8. Cute Pumpkin Patch Nail Art
Turn your nails into a mini pumpkin field with Cute Pumpkin Patch Nail Art. Little pumpkins scattered across a pastel green background bring a sweet, whimsical vibe.
Step-by-step
- Paint your nails pastel green or mint.
- Use a small brush to paint tiny orange circles for pumpkins.
- Add green stems and leaf accents around each circle.
- Dot white specks around the pumpkins for “dew drops.”
- Lock it in with a shiny top coat.
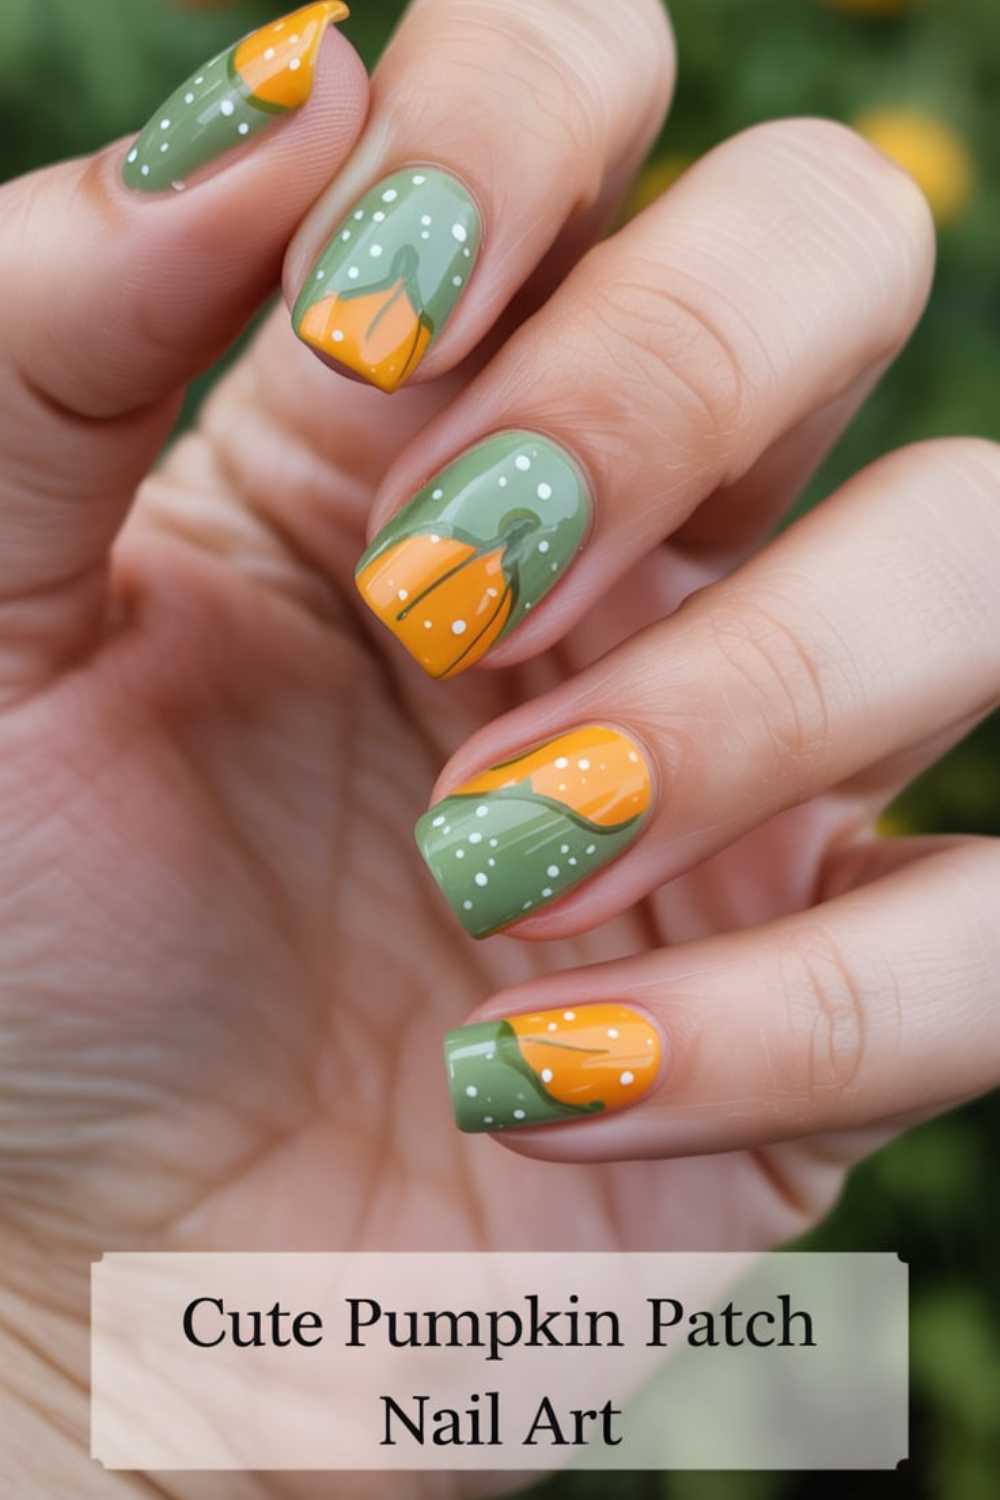
Picture this:
Your nails look like a morning stroll through a dewy pumpkin patch. Soft green and bright orange mingle playfully, while the white specks catch the light like early‐morning mist. It’s a cheerful design that feels fresh and fun.
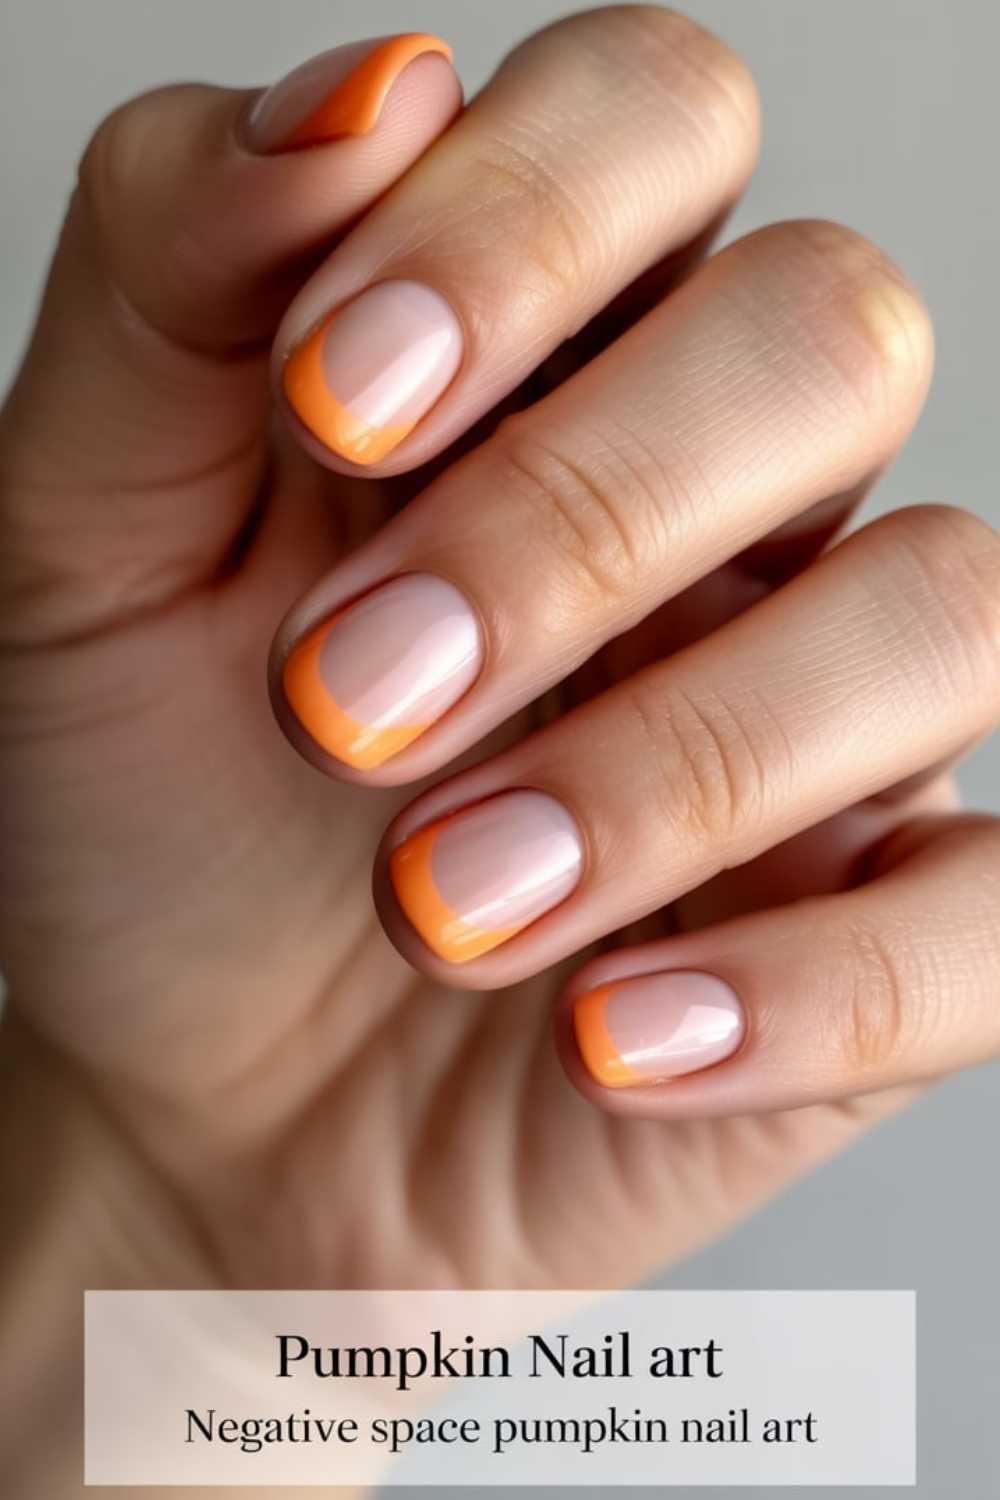
9. Negative Space Pumpkin Nail Art
Combine modern style with seasonal flair using Negative Space Pumpkin Nail Art. Leaves of bare nail peek through intricate pumpkin patterns for a high-fashion twist.
Step-by-step
- Apply clear or nude base coat.
- Using tape or a stencil, mask off pumpkin shapes on each nail.
- Paint over with orange polish, then remove the mask while still wet.
- Outline the pumpkin shapes in black for clarity.
- Finish with a glossy seal.
Picture this:
Your nails show off surprising patches of bare natural nail framed by crisp pumpkin shapes. It’s a minimalist approach that still says “fall is here.” The contrast between skin and polish feels sleek and editorial.
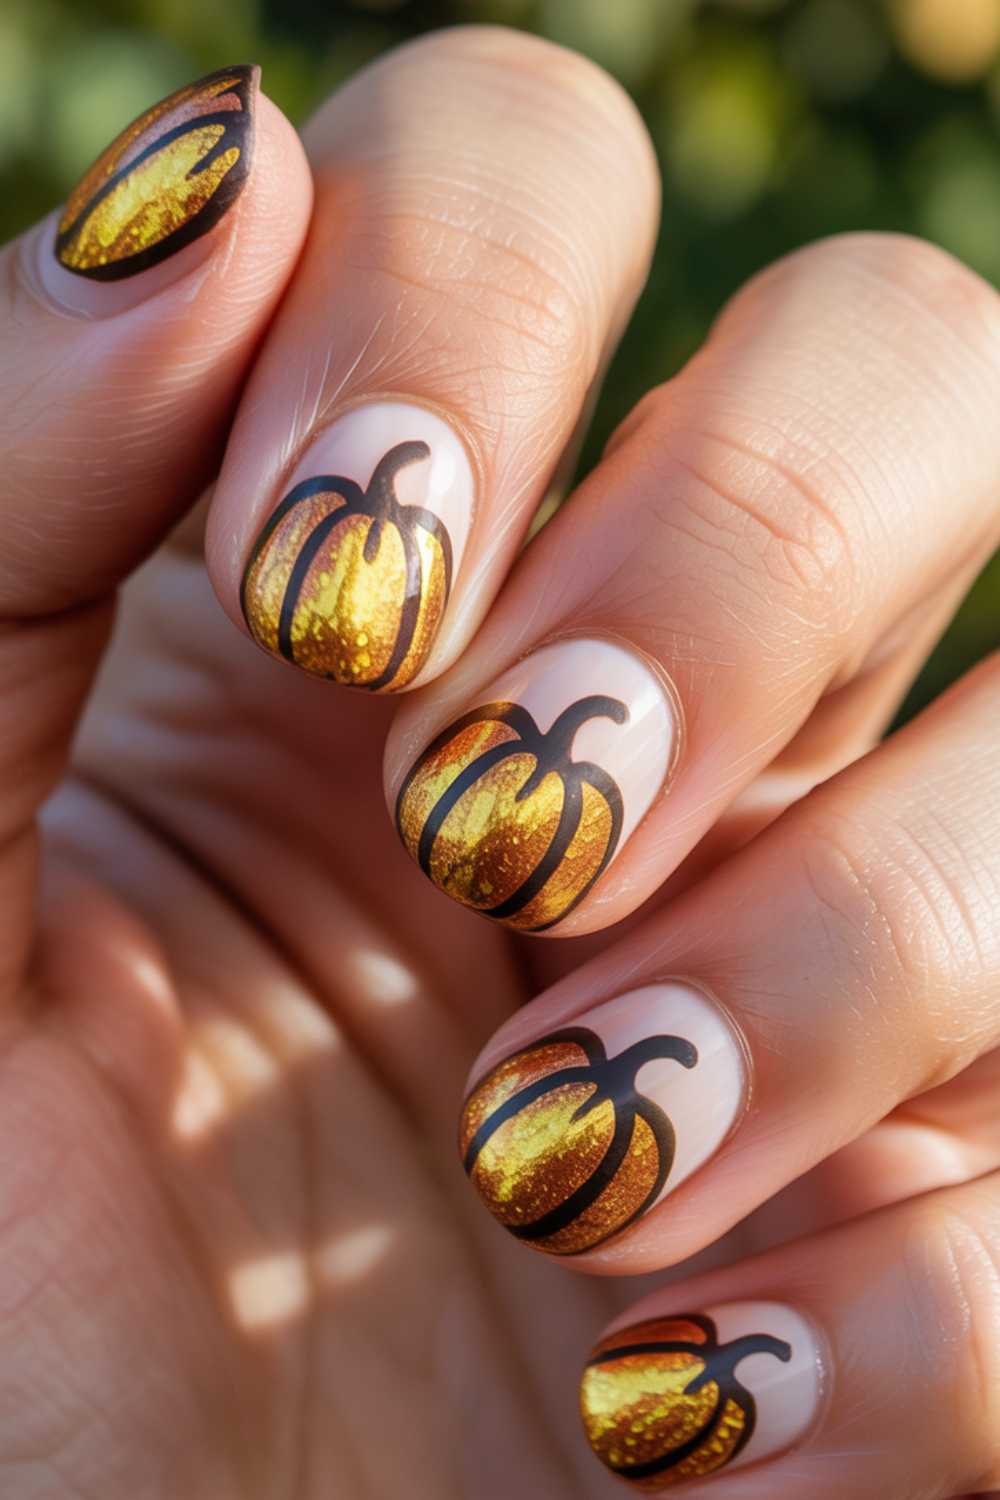
10. Gold Foil Pumpkin Nail Art
Add a luxe touch with Gold Foil Pumpkin Nail Art. Metallic accents elevate simple pumpkin motifs into something runway-ready.
Step-by-step
- Paint nails a neutral beige or soft orange.
- Press small pieces of gold foil onto each nail using a clear tacky polish.
- Once set, use black polish to draw tiny pumpkin outlines or faces.
- Seal with a glossy top coat to trap the foil.
Picture this:
Every time you move your hand, flashes of gold catch the light like morning sun on dewy leaves. Pumpkin shapes peek out from behind the metallic shimmer, blending rustic charm with opulent flair. It feels like wearing autumn jewelry on your fingertips.
11. Easy Pumpkin Nail Art with Dots
Perfect for nail art newbies, this Easy Pumpkin Nail Art with Dots uses simple dotting tools to create charming pumpkin clusters. Minimal effort, maximum impact.
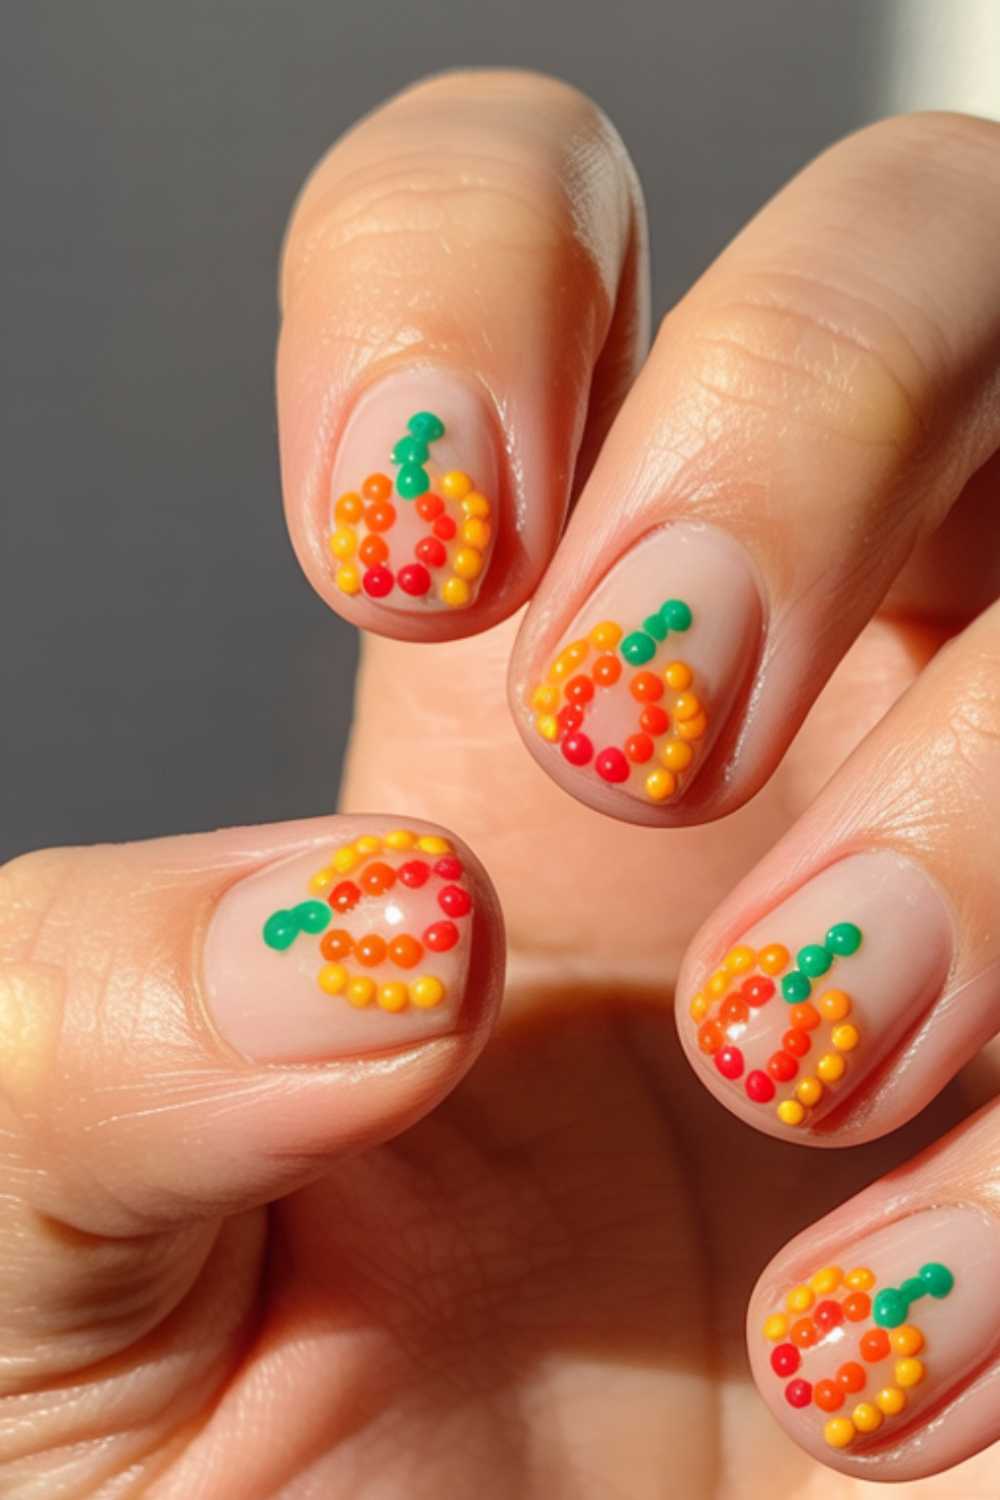
Step-by-step
- Paint all nails in a creamy off-white.
- Use an orange dotting tool to place three dots in a triangle on each nail.
- Connect the dots with a thin black brush to form a pumpkin silhouette.
- Add a green dash at the top for the stem.
- Protect with a clear top coat.
Picture this:
Your nails look like tiny clusters of pumpkins made from colorful beads. The off-white background makes the orange dots pop, and the simple shapes feel fresh and playful. It’s a fuss-free way to rock pumpkin nail art fall style.
12. Spooky Black Pumpkin Nail Art
Turn pumpkin nail art Halloween-level edgy with a black-on-black design. Matte black background with glossy pumpkin shapes creates a subtle, stylish contrast.
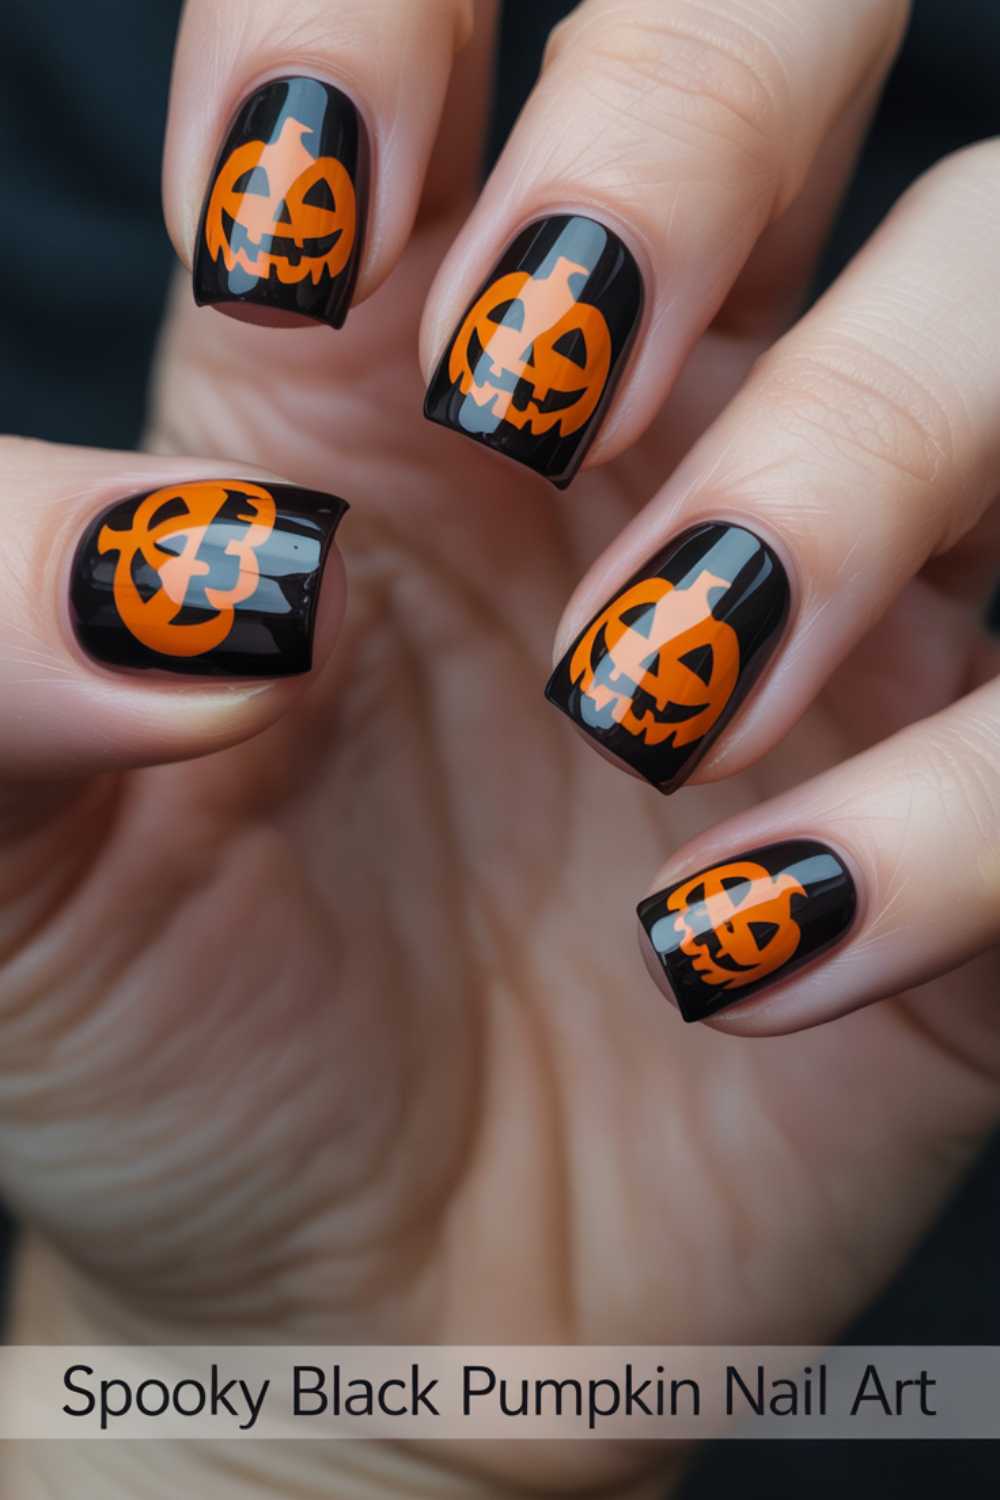
Step-by-step
- Paint nails with matte black polish and allow to dry.
- Using glossy black polish, draw pumpkin outlines and faces on top.
- Keep the shapes simple—curved lines for ridges and triangles for eyes.
- Finish with another layer of matte top coat, avoiding the pumpkin shapes to keep them glossy.
Picture this:
Your nails are a study in shadow and light—pumpkin faces emerging from a midnight backdrop. The glossy pumpkins seem to float on a matte canvas, giving a mysterious, high-contrast look. It’s the perfect mix of spooky and chic for Halloween night.
With these 12 Pumpkin Nail Art designs, your fall manicure game is officially on point. Whether you’re into glitter, matte finishes, or minimalist outlines, there’s a look here for every skill level—and every autumn mood. Grab your brushes, pick your favorite style, and let your nails celebrate the season in pumpkin-perfect fashion!
Other Articles

13 Korean Jelly Nails Looks for a Playful Twist


